
[Please note that proper safety equipment is a must for projects such as this, especially when using Liquid Plumr, and the reader is responsible for his or her own safety, as there is no expert advice here.]
I built a wood bench and this is how every step of the project went: Oh, s**t, I messed that up. Damn, how did I screw that up? Oops. Oh, no, how did I make that mistake. ARRRRRGGGGGGGGHHHHHHH.
Yep, that’s pretty much how the project went. I don’t have the expensive tools they do on TV shows, or the skills, so I have to improvise. Sometimes it works, sometimes it doesn’t.
However, at the very end of the project, when I had the bench upside down and assembled, I carefully lifted it off the saw horses and placed it upright for the first time and felt a great sense of relief upon seeing it: Wow, that turned out a lot better than I expected. Hey, that looks pretty good. All is forgotten, wicked bench.
I applied the apple-cider vinegar and stainless steel stain I used on the table I refinished.. I also waxed each piece with Briwax clear before assembly.
Here are some photos.

Here is some of the raw wood I began with. I found it in my mother-in-law’s house before we sold it. It’s at least 50 years old and very heavy and dense. The piece on the bottom is one of the legs. I thought I was going to have the trestle go through the legs at first. I drilled the holes and then chiseled out the wood. I thought, “this isn’t that hard.” Then I flipped the board over and noticed that I’d split the wood from trying to do all of the chiseling from one side. I should have gone halfway down, then flipped the board over and repeated. Oops. Argh. Damn.

I sand with 100 and 180-grit sandpaper, then used my apple-cider vinegar and steel wool stain again. However, I messed up the ratio of Liquid Plumr to water and the stain came out very light on the first coat. The next picture shows the other side of the board and how different the same stain can look.

This photo shows how minimal sanding and a lack of Liquid Plumr can change the look of the same wood. I didn’t spend as much time on this side and I didn’t use Liquid Plumr. I really thought this side looked interesting and was going to use it as the top side until my daughter and wife voted against it. They liked the other side because it matched the table I refinished. They made the right choice.

Here are the legs. They came out grayish. Again, same stain, but slightly different look. I used my Kreg pocket hole jig to attach the legs and trestle. I used wood plugs to hide the holes and unless you look closely at the finished bench, you’d never notice them.

To darken the top, I used four coats of stain. Then I used Briwax clear, of course, and a beautiful brown shade appeared. Perfect. There’s nothing like old wood. It’s heavy and the grain pattern is much better than newer wood.
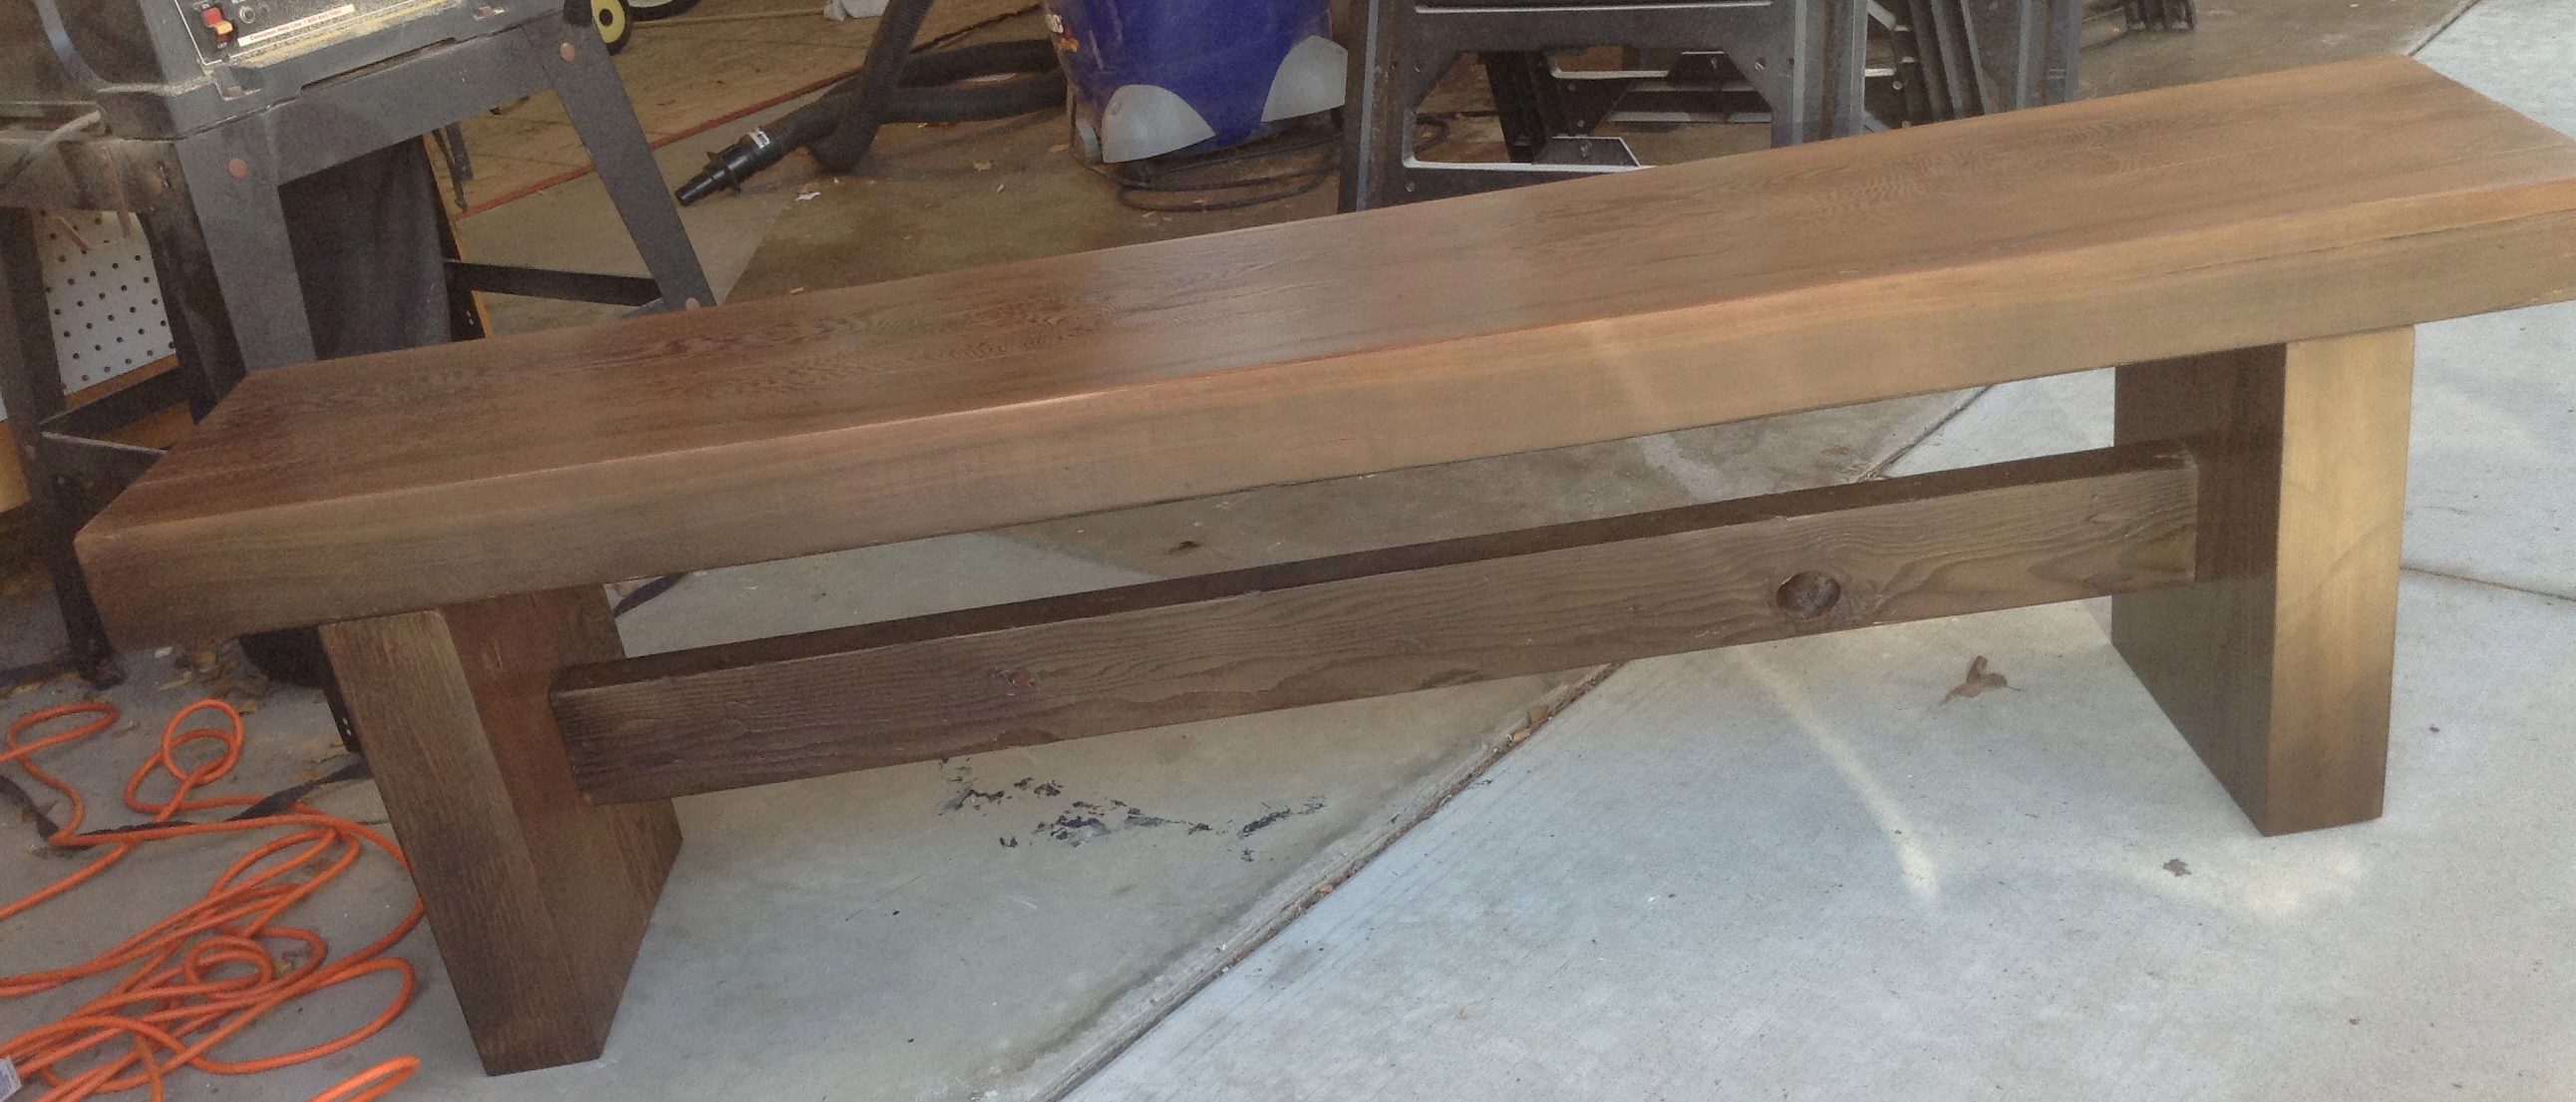
Here is the finished bench with three coats of Briwax clear. The trestle is reclaimed wood that is over 100 years old and came from a railroad repair station in Los Angeles. I used most of it for a countertop in our house and this was a spare piece I had left over.
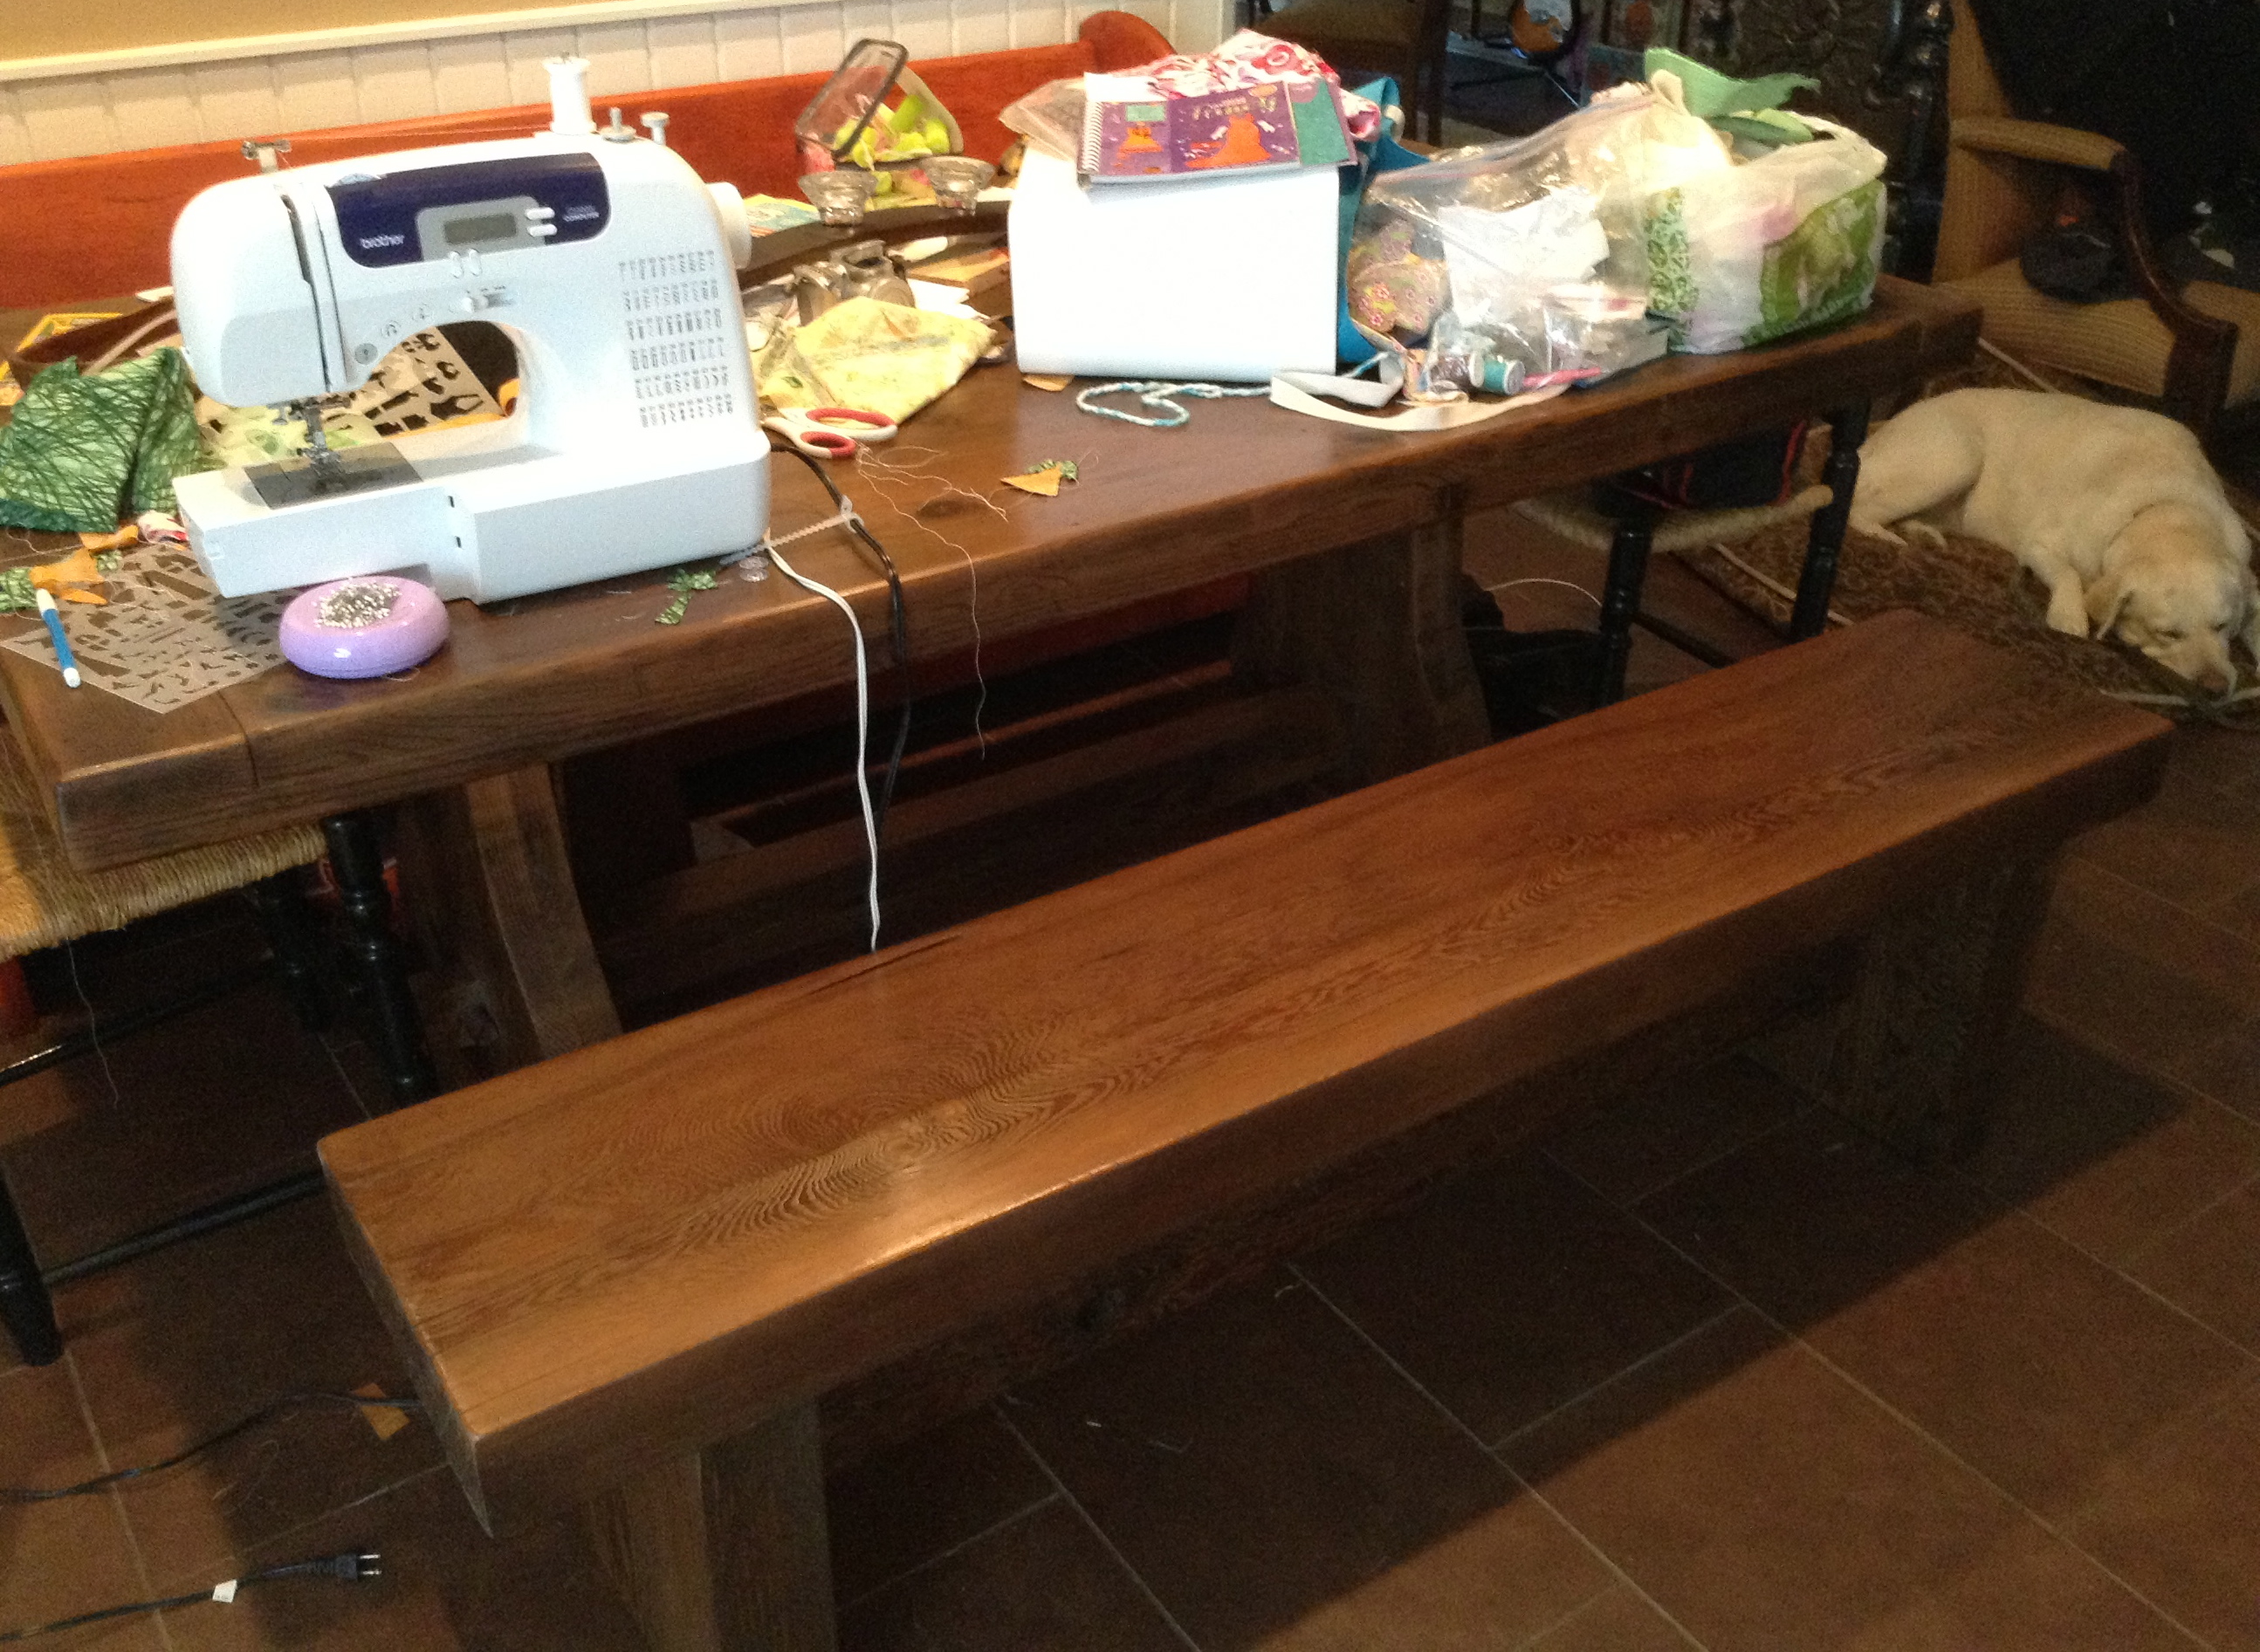
Here is the bench next to the table I refinished. It fit perfectly. And having a bench is cool. My daughter likes it and the table gets a lot more use now, as you can see from the mess on it.

Beautiful work!! You are THE MAN!! Something to be quite proud of.
Larry,
Thank you. Nice of you to say. I’ve refinished a lot of furniture over the years, but this was the first piece I built. I ordered a router table and and working on a closet door right now. Once again, messing up step after step.
UC
They are both beautiful! I’m so impressed you know how to do all that
MAL,
I’m so glad to hear from you. I was thinking about you recently, wondering where you had gone to and hoping all was good. Thanks for the comment and kind words. Luckily, I can figure out how to do most anything, except make gobs of money. But I did prove I can build a bench. And it’s still holding up despite my daughter and our black lab giving it a beating every day.
Hope you are doing well.
UC